datetime:2023/10/26 10:23
author:nzb
该项目来源于大佬的动手学ROS2
4.舵机+超声波循环扫描
本节我们尝试将超声波的舵机结合起来实现循环扫描功能。
一、新建工程
新建example20_simple_laser
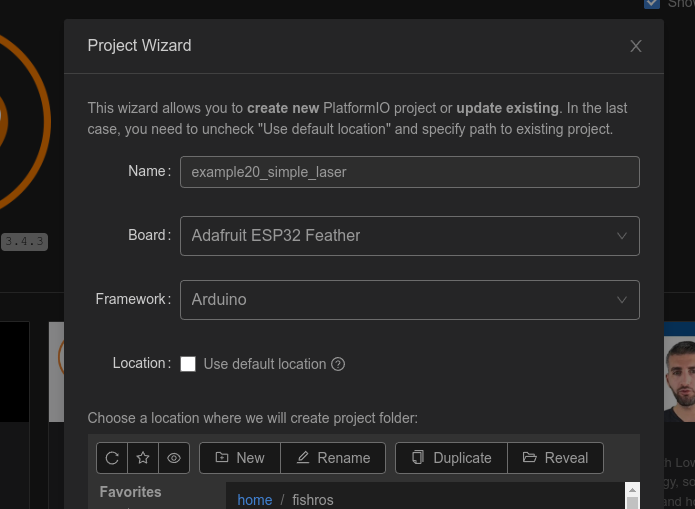
添加依赖,这里顺便吧microros的添加上,下一节直接使用
; PlatformIO Project Configuration File
;
;   Build options: build flags, source filter
;   Upload options: custom upload port, speed and extra flags
;   Library options: dependencies, extra library storages
;   Advanced options: extra scripting
;
; Please visit documentation for the other options and examples
; https://docs.platformio.org/page/projectconf.html

[env:featheresp32]
platform = espressif32
board = featheresp32
framework = arduino
board_microros_transport = wifi
lib_deps =
    https://gitee.com/ohhuo/micro_ros_platformio.git
    madhephaestus/ESP32Servo@^0.12.0
二、编写代码
原理是先控制舵机走到某个角度,接着调用超声波测量距离,这里将超声波测距离封装了一个函数,并用一个数组存储10个历史数据。
#include <Arduino.h>
#include <micro_ros_platformio.h>
#include <WiFi.h>
#include <ESP32Servo.h>


#define Trig 27 // 设定SR04连接的Arduino引脚
#define Echo 21

Servo servo1;

float get_distance(int angle)
{
  static double mtime;
  servo1.write(angle);     // 移动到指定角度
  delay(25);               // 稳定身形
  digitalWrite(Trig, LOW); // 测量距离
  delayMicroseconds(2);
  digitalWrite(Trig, HIGH);
  delayMicroseconds(10); // 产生一个10us的高脉冲去触发SR04
  digitalWrite(Trig, LOW);
  mtime = pulseIn(Echo, HIGH);                  // 检测脉冲宽度,注意返回值是微秒us
  float detect_distance = mtime / 58.0 / 100.0; // 计算出距离,输出的距离的单位是厘米cm
  Serial.printf("point(%d,%f)\n", angle, detect_distance);
  return detect_distance;
}

void setup()
{
  Serial.begin(115200);
  pinMode(Trig, OUTPUT);     // 初始化舵机和超声波
  pinMode(Echo, INPUT);      // 要检测引脚上输入的脉冲宽度,需要先设置为输入状态
  servo1.setPeriodHertz(50); // Standard 50hz servo
  servo1.attach(4, 500, 2500);
  servo1.write(90.0);
}

void loop()
{
  for (int i = 0; i < 180; i++)
  {
    float distance = get_distance(i);
    delay(10);
  }
}
三、下载测试
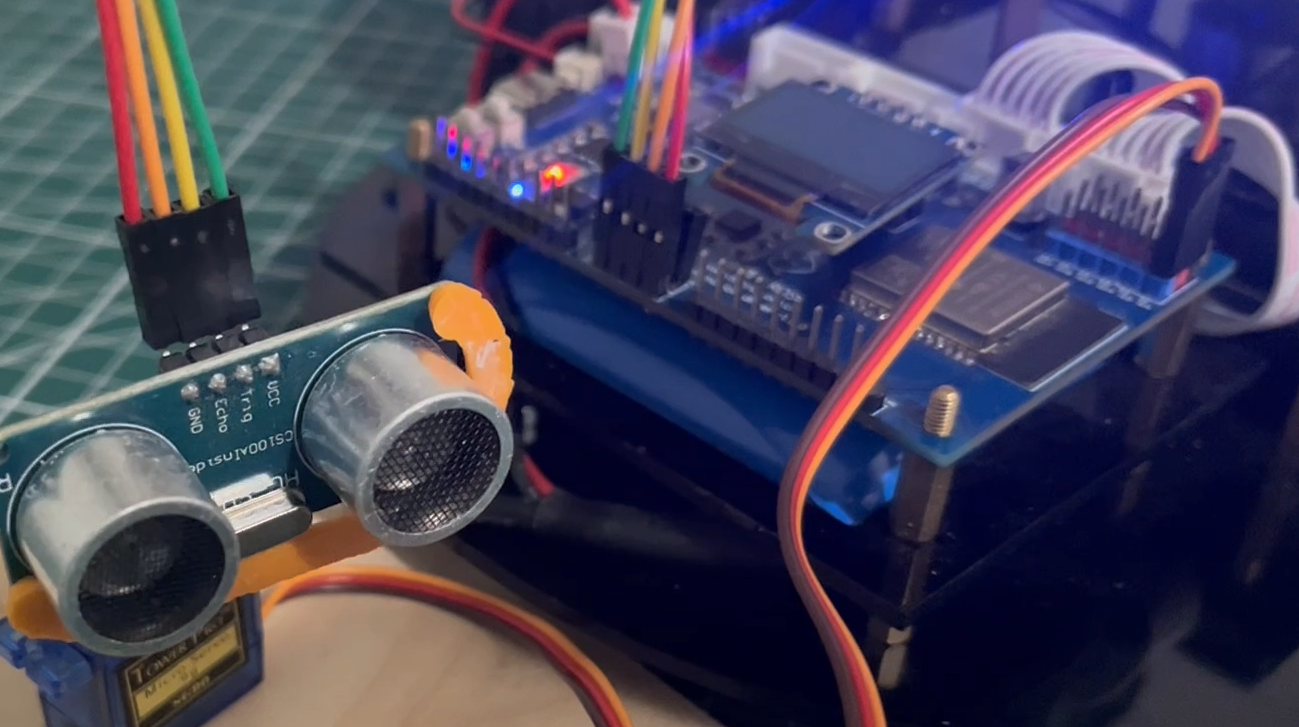
连接好超声波和舵机。
下载代码,观察串口输出
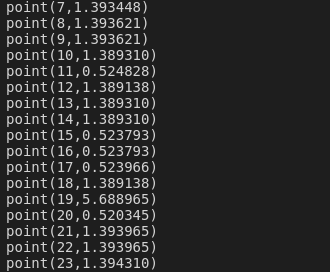
这里显示的就是角度以及距离信息。