datetime:2023/10/26 10:23
author:nzb
该项目来源于大佬的动手学ROS2
3.MicroROS-服务通信服务端实现
一、新建工程添加依赖
新建example13_microros_service_server工程
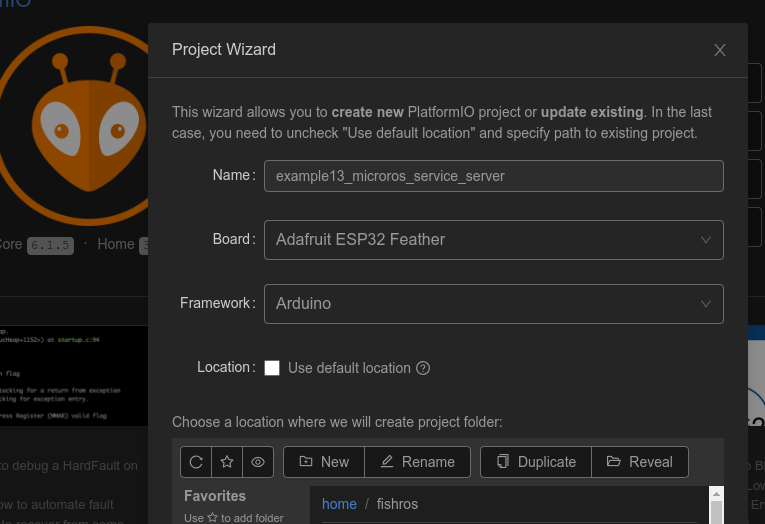
修改platformio.ini添加依赖
; PlatformIO Project Configuration File
;
;   Build options: build flags, source filter
;   Upload options: custom upload port, speed and extra flags
;   Library options: dependencies, extra library storages
;   Advanced options: extra scripting
;
; Please visit documentation for the other options and examples
; https://docs.platformio.org/page/projectconf.html

[env:featheresp32]
platform = espressif32
board = featheresp32
framework = arduino
lib_deps =
    https://gitee.com/ohhuo/micro_ros_platformio.git
二、编写代码-实现服务代码
编辑main.cpp,代码如下,注释已经添加到代码中来了
#include <Arduino.h>
#include <micro_ros_platformio.h>

#include <rcl/rcl.h>
#include <rclc/rclc.h>
#include <rclc/executor.h>

// 添加接口
#include <example_interfaces/srv/add_two_ints.h>

rclc_executor_t executor;
rclc_support_t support;
rcl_allocator_t allocator;
rcl_node_t node;

// 定义服务
rcl_service_t service;

// 服务请求和返回消息定义
example_interfaces__srv__AddTwoInts_Request req;
example_interfaces__srv__AddTwoInts_Response res;

// 服务回调函数
void service_callback(const void *req, void *res)
{
  example_interfaces__srv__AddTwoInts_Request *req_in = (example_interfaces__srv__AddTwoInts_Request *)req;
  example_interfaces__srv__AddTwoInts_Response *res_in = (example_interfaces__srv__AddTwoInts_Response *)res;
  // 计算sum
  res_in->sum = req_in->a + req_in->b;
}

void setup()
{
  Serial.begin(115200);
  // 设置通过串口进行MicroROS通信
  set_microros_serial_transports(Serial);
  // 延时时一段时间,等待设置完成
  delay(2000);
  // 初始化内存分配器
  allocator = rcl_get_default_allocator();
  // 创建初始化选项
  rclc_support_init(&support, 0, NULL, &allocator);
  // 创建节点 hello_microros
  rclc_node_init_default(&node, "service_test", "", &support);
  // 使用默认配置创建服务
  rclc_service_init_default(&service, &node, ROSIDL_GET_SRV_TYPE_SUPPORT(example_interfaces, srv, AddTwoInts), "/addtwoints");
  // 创建执行器
  rclc_executor_init(&executor, &support.context, 1, &allocator);
  // 执行器添加服务
  rclc_executor_add_service(&executor, &service, &req, &res, service_callback);
}

void loop()
{
  delay(100);
  // 循环处理数据
  rclc_executor_spin_some(&executor, RCL_MS_TO_NS(100));
}
三、代码注解
相比之前的节点代码这里主要多了这几行
#include <example_interfaces/srv/add_two_ints.h>添加接口头文件rcl_service_t service; 定义服务example_interfaces__srv__AddTwoInts_Request res;定义请求数据存储位置example_interfaces__srv__AddTwoInts_Response req;定义响应数据存储位置void service_callback(const void *req, void *res) 服务回调函数rclc_service_init_default(&service, &node, ROSIDL_GET_SRV_TYPE_SUPPORT(example_interfaces, srv, AddTwoInts), "/addtwoints");使用默认配置初始化服务rclc_executor_add_service(&executor, &service, &req, &res, service_callback);为执行器添加服务定义
四、下载测试
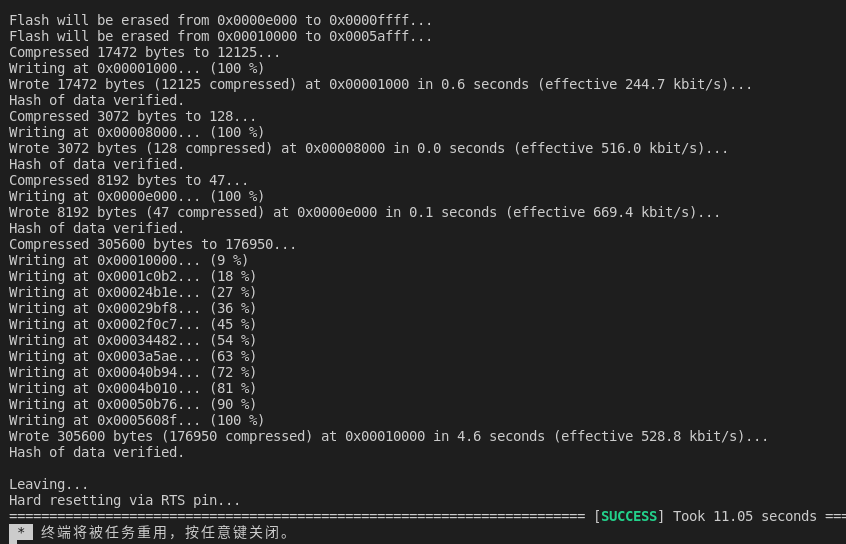
4.1 编译下载
连接开发板,编译下载。
4.2 启动Agent服务
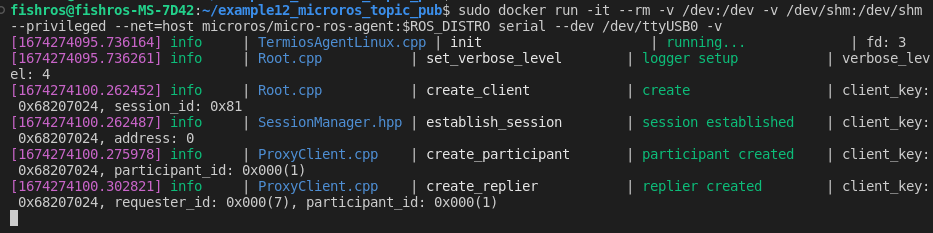
接着打开终端启动agent
sudo docker run -it --rm -v /dev:/dev -v /dev/shm:/dev/shm --privileged --net=host microros/micro-ros-agent:$ROS_DISTRO serial --dev /dev/ttyUSB0 -v
点击下RST按钮,重启开发板,正常可以看到下图内容
4.3 测试是否连通
ros2 node list
ros2 service list

4.4 测试服务
测试个1+2吧,使用ROS2CLI
ros2 service call /addtwoints example_interfaces/srv/AddTwoInts "{a: 1, b: 2}"
成功的返回了3

五、总结
本节我们通过两数相加的Demo实现了服务通信,但是我们使用的是样例服务接口,在嵌入式平台上如何才能自定义接口呢?我们进阶篇见!